Week 1
Week 1 – Remote Access and the Filesystem
Due Dates & Links
- Welcome Survey - Due 11:59am (just before noon) TUESDAY January 4, 2021
- Quiz 1 (released after class Monday) - Due 11:59am (just before noon) WEDNESDAY January 5, 2021
Lecture Materials
Lab Tasks
In this lab you’ll set your computer up for remote access to the CSE lab computers and practice with commands that work with the filesystem.
Part 1 – Meet Your Group!
We’ve organized everyone into groups of 6-7 students for discussion. These groups will be somewhat stable throughout the quarter, though some small changes might happen. You will have a tutor or TA assigned to your group for help and discussion.
We ask that you turn your camera on when in your small groups unless you are unable to for some reason.
Your discussion leader will share a Google Doc with your group where you can fill in notes as you work; this document is only for your group. Your discussion leader will not take notes for you, you can have someone volunteer to take notes or come up with a way to share the role.
Write down in notes In your groups, share, and note in the running notes document (discussion leaders, you answer these as well!):
- How you’d like people to refer to you (pronounce your name/nickname, pronouns like he/her/they, etc)
- Your major
- One of:
- A UCSD student organization you’re a member of or interested in
- What UCSD college you’re in
- Where you’re calling in from
Part 2 – Visual Studio Code
In Your Group for 10 minutes
Go to the Visual Studio Code website https://code.visualstudio.com/, and follow the instructions to download and install it on your computer. There are versions for all the major operating systems, like OSX (for Macs) and Windows (for PCs). If you only have access to a tablet or Chromebook while remote, you won’t be able to install it right now. If you don’t, you should chat your lab leader and let them know, and for any pair activities this week and next we will make sure to pair you with someone who does.
If you run into an error installing Visual Studio Code, speak up! You can screenshare and ask for help, and the tutor or someone in your group might be able to answer for you!
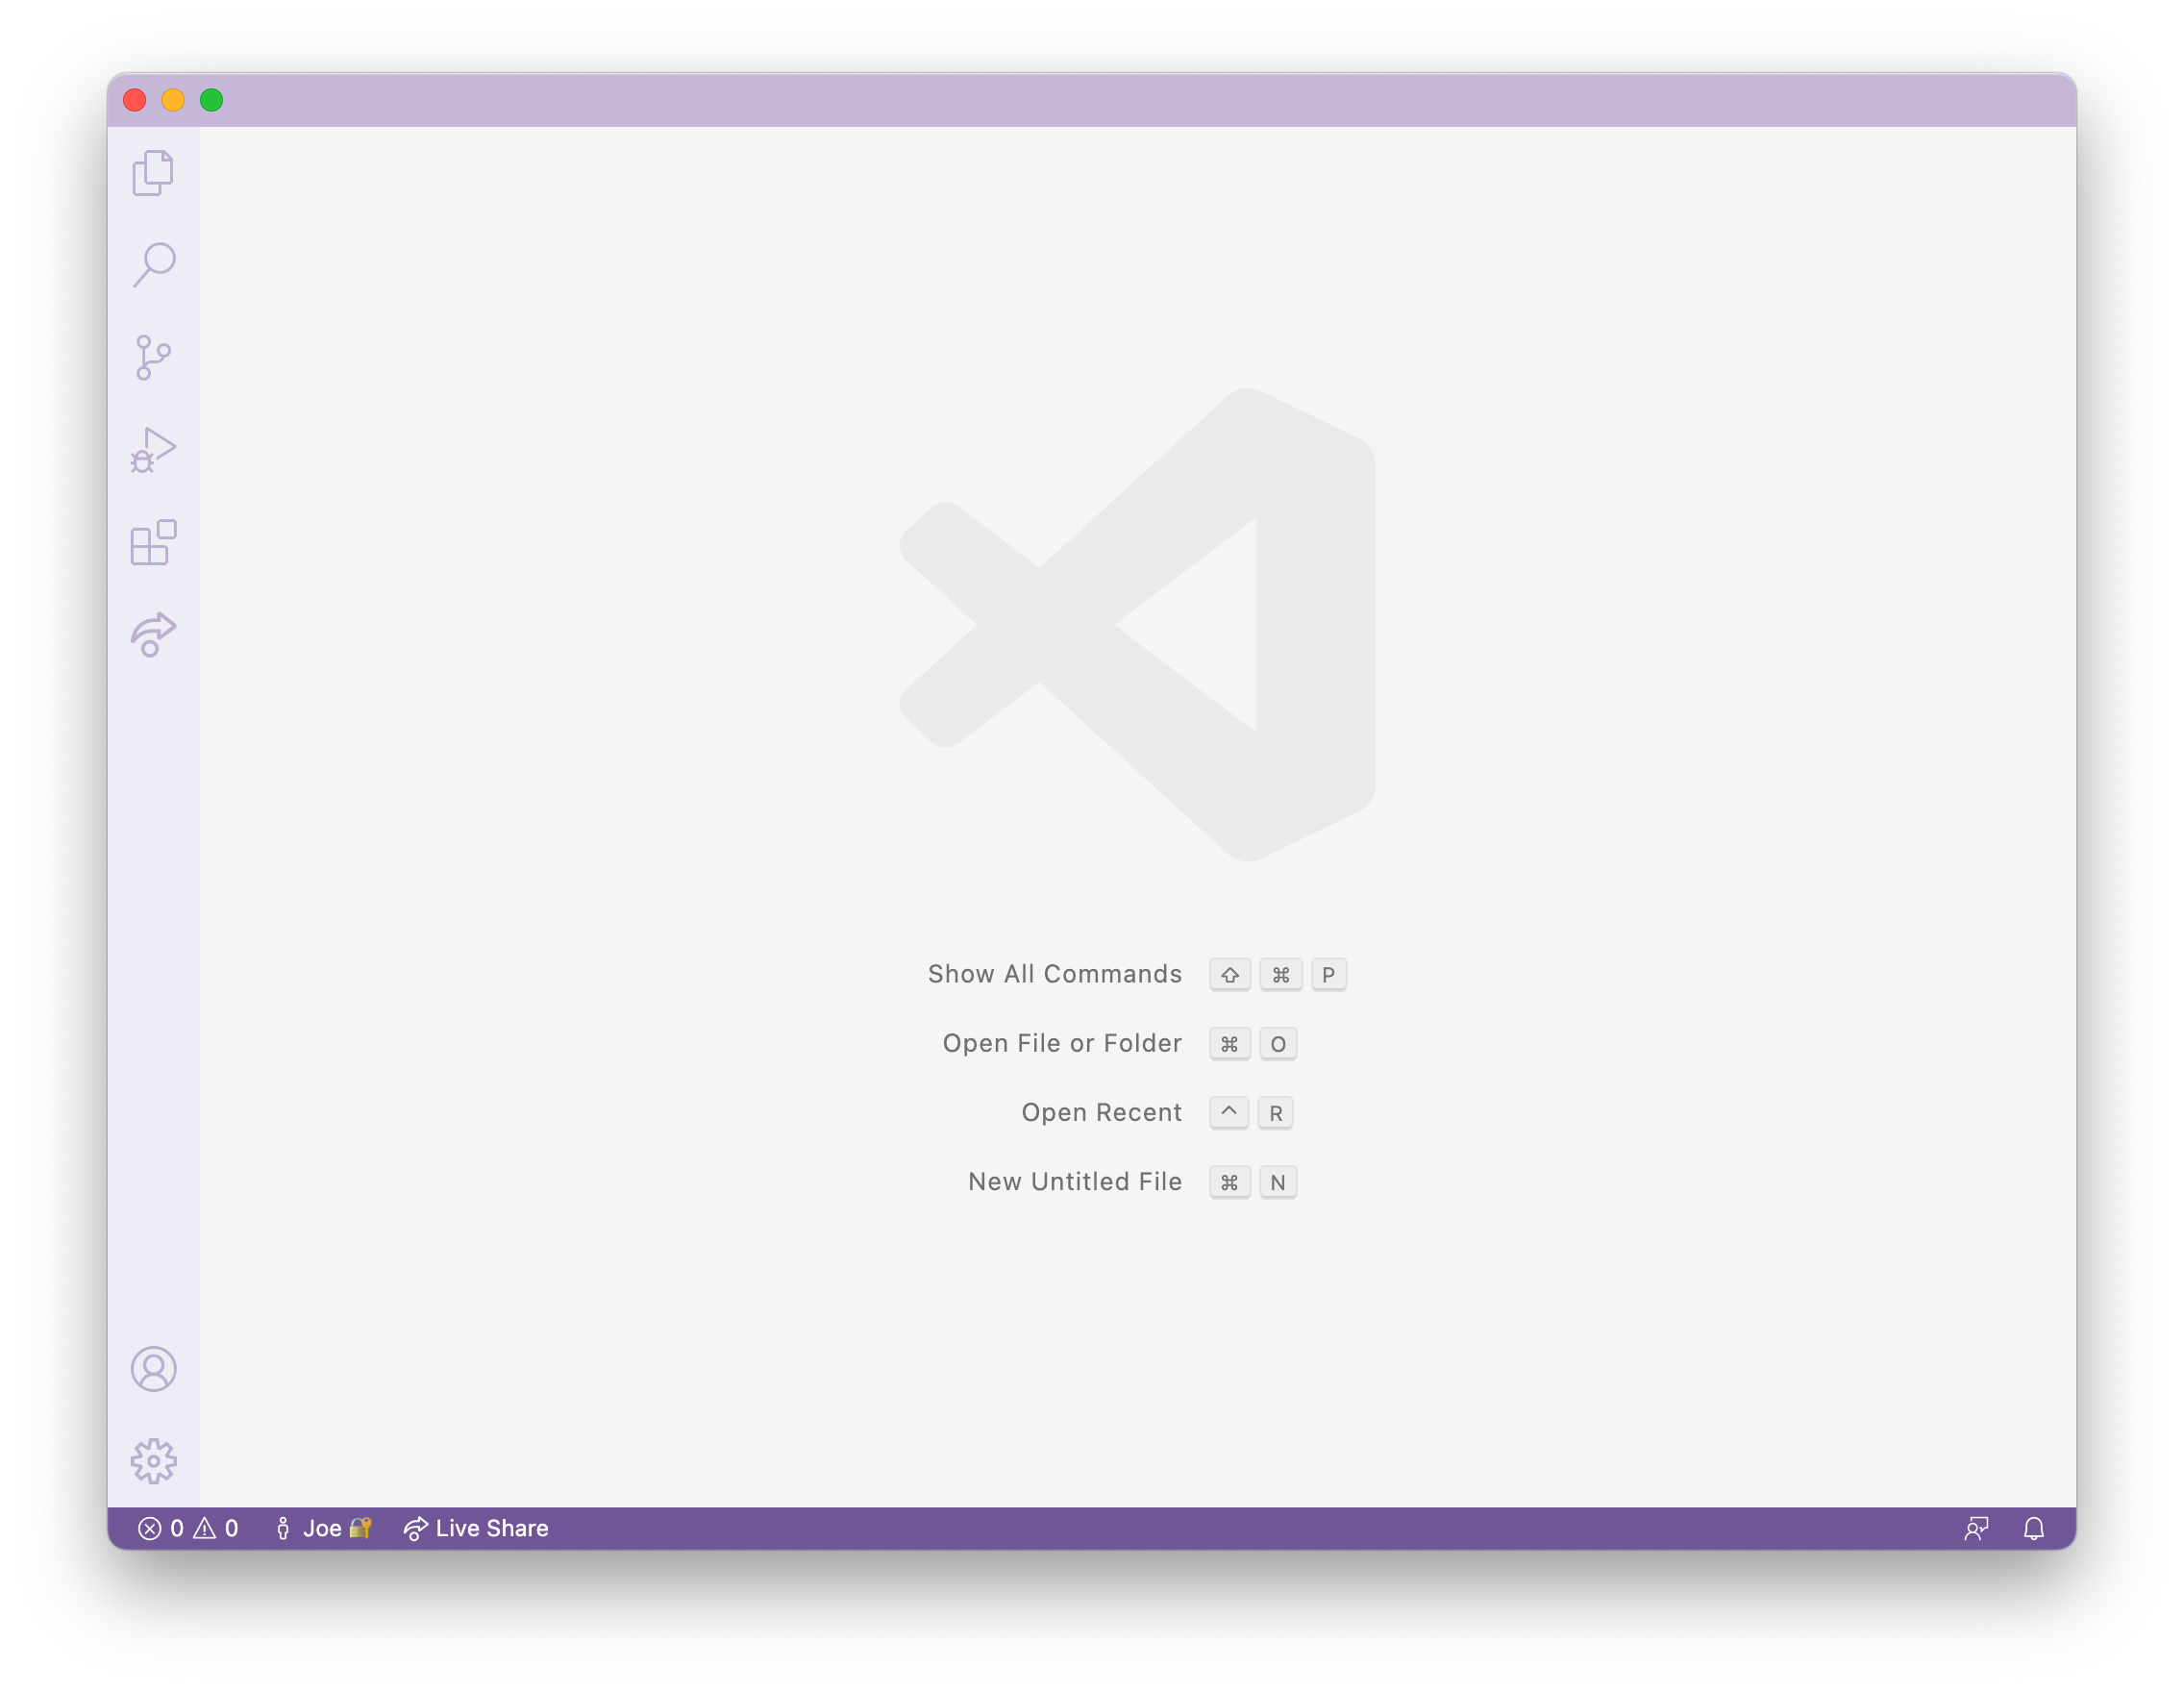
When it is installed, you should be able to open a window that looks like this (it might have different colors, or a different menu bar, depending on your system and settings):
Write down in notes: Everyone should share a screenshot of VScode open – help folks figure it out if it won’t install. If someone gets stuck, take a screenshot of the error message or point at which they are stuck so we can help them figure it out later, and they can decide to keep trying (potentiall with the tutor helping) or move on. When moving on, make sure they can see someone’s screenshare to follow along!
Part 3 – Remotely Connecting
In Your Group for 15 minutes
Many courses in CSE use course-specific accounts. These are similar to accounts you might get on other systems at other institutions (or a future job). We’ll see how to use VScode to connect to a remote computer over the Internet to do work there.
There is a first step you need if you’re on Windows: install a program called OpenSSH, which is a program that can connect your computer to other computers that have this kind of account:
Then, look up your course-specific account for CSE15L here:
https://sdacs.ucsd.edu/~icc/index.php
Then, in Visual Studio Code, we are going to connect to the remote computer using VSCode’s remote option. For reference, we’re following the steps in “Connect to a remote host” step.
For the first step, open a terminal in VSCode (Ctrl or Command + `, or use the Terminal → New Terminal menu option). Your command will look like this, but with the zz replaced by the letters in your course-specific account.
$ ssh cs15lwi22zz@ieng6.ucsd.edu
(That’s one, five, l (not one); the one and l look very close in some fonts.)
Since this is likely the first time you’ve connected to this server, you will probably get a message like this:
⤇ ssh cs15lwi22zz@ieng6.ucsd.edu
The authenticity of host 'ieng6.ucsd.edu (128.54.70.227)' can't be established.
RSA key fingerprint is SHA256:ksruYwhnYH+sySHnHAtLUHngrPEyZTDl/1x99wUQcec.
Are you sure you want to continue connecting (yes/no/[fingerprint])?
I (Joe) always say yes to these messages when I’m connecting to a new server for the first time; it’s expected to get this message in that case. If you get this message when you’re connecting to a server you connect to often, it could mean someone is trying to listen in on or control the connection. This answer is a decent description of what’s going on: Ben Voigt’s answer
So type yes and press enter, then give your password; the whole interaction should look something like this once you give your password and are logged in:
⤇ ssh cs15lwi22zz@ieng6.ucsd.edu
The authenticity of host 'ieng6-202.ucsd.edu (128.54.70.227)' can't be established.
RSA key fingerprint is SHA256:ksruYwhnYH+sySHnHAtLUHngrPEyZTDl/1x99wUQcec.
Are you sure you want to continue connecting (yes/no/[fingerprint])?
Password:
Last login: Sun Jan  2 14:03:05 2022 from 107-217-10-235.lightspeed.sndgca.sbcglobal.net
quota: No filesystem specified.
Hello cs15lwi22zz, you are currently logged into ieng6-203.ucsd.edu

You are using 0% CPU on this system

Cluster Status
Hostname     Time    #Users  Load  Averages
ieng6-201   23:25:01   0  0.08,  0.17,  0.11
ieng6-202   23:25:01   1  0.09,  0.15,  0.11
ieng6-203   23:25:01   1  0.08,  0.15,  0.11

Sun Jan 02, 2022 11:28pm - Prepping cs15lwi22
Now your terminal is connected to a computer in the CSE basement, and any commands you run will run on that computer! We call your computer the client and the computer in the basement the server based on how you are connected.
If, in this process, you run into errors and can’t figure out how to proceed, ask! When you ask, take a screenshot of your problem and add it to your group’s running notes document, then describe what the fix was. If you don’t know how to take a screenshot, ask!
Remember – it is rare for a tutorial to work perfectly. We often have to stop, think, guess, Google search, ask someone, etc. in order to get things to work the way the tutorial says. I look up the right way to describe the (yes/no) answer on first login all the time, for example. So you are helping your group learn about potential issues when you do this, and that’s a major learning outcome of the course! If you see someone else have an issue that you didn’t, ask why, and what might be different about what you did, or how your environment is set up. You will learn by reflecting on this.
Write down in notes When you’re done, discuss what you saw upon login. Take a screenshot or copy/paste the output. Did you all see the same thing? What might the differences mean? Note the results of your discussion in the notes document.
Part 4 – Run Some Commands
Try running the commands cd, ls, pwd, mkdir, and cp a few times in different ways, both on your computer, and on the remote computer after ssh-ing. Discuss in your group what you see. Can you cause them to produce error messages? What do they mean? If you’re on Windows, what happens when you use them on Windows?
Here are some specific useful commands to try:
cd ~cdls -latls -als <directory>where<directory>is/home/linux/ieng6/cs15lwi22/cs15lwi22abc, where theabcis one of the other group members’ usernamecp /home/linux/ieng6/cs15lwi22/public/hello.txt ~/cat /home/linux/ieng6/cs15lwi22/public/hello.txt
Write down in notes: Copy at least one example from each group member, with an explanation, into your shared notes doc.
Hint: To log out of the remote server in your terminal, you can use:
- Ctrl-D
- Run the command
exit
You can also open more terminals in VSCode (there is a little + button at the top of the terminal window where you can create another).
Part 5 – Moving Files over SSH with scp
So far we’ve seen how we can do some work on local and remote computers. One key step in working remotely is being able to copy files back and forth between the computers. There are lots of options for how to do this – you might have done it yourself in the past by sending yourself an email, or storing it in Google Drive or Dropbox and accessing it from the another computer later.
We’ll see now another way to copy a file (or many files!) from your computer to a remote computer. The command is called scp, and we will always run it from the client (that means from your computer, not logged into ieng6). Create a file on your computer called WhereAmI.java and put the following contents into it:
class WhereAmI {
  public static void main(String[] args) {
    System.out.println(System.getProperty("os.name"));
    System.out.println(System.getProperty("user.name"));
    System.out.println(System.getProperty("user.home"));
    System.out.println(System.getProperty("user.dir"));
  }
}
Run it using javac and java on your computer. What do you see? (If you don’t have java installed on your computer, skip this step).
Then, in the terminal from the directory where you made this file, run this command (as usually, using your username):
scp WhereAmI.java cs15lwi22zz@ieng6.ucsd.edu:~/
You should be prompted for a password just like when you log in with ssh. If you get errors, ask your group members for help! You’ll all learn.
Then, log into ieng6 with ssh again, and use ls. You should see the file there in your home directory! Now you can run it on the ieng6 computer using javac and java. Since java is installed on the server, everyone should be able to run it no matter the client.
Write answer in notes: Try to get a screenshot of everyone successfully *using scp and ssh. If someone can’t, no worries! Get a screenshot of where *they got stuck (don’t try to resolve an error for more than a few minutes) and *put that in the notes so we can help with it later.
Write answer in notes: What’s different about the output when you run this on the client vs. the server? What does this mean for what getProperty does?
What we see here is one solution for running code remotely – we can copy files to a remote server with scp, then log in and run them there.
Before you go on, do the following:
- Have someone on your team start a timer
- Make a change to WhereAmI.java and save the file
- Copy the file to the remote server
- Log into the remote server and run the file
- Stop the timer
Write answer in notes: How long did it take you? (Not everyone has to do this, but someone should.) Assume you’d have to do this process 100 times over the course of a PA. How long would you spend copying and running the file?
Part 6 – SSH Keys
So far, we’ve seen how to log in, run commands, and copy files to a remote server with ssh and scp. Every time we log in or run scp, we have to type (or copy-paste) our password. This is frustrating, time consuming, and interrupts whatever task we were trying to do. Naturally, we should look into if there are ways to avoid this repetitive, frustrating task with a configuration or program.
In this case, there is a great solution – ssh keys. The idea behind ssh keys is that a program, called ssh-keygen, creates a pair of files called the public key and private key. You copy the public key to a particular location on the server, and the private key in a particular location on the client. Then, the ssh command can use the pair of files in place of your password. This is a common setup step in lots of work environments that involve code on a server.
Here’s what you should run to set this up:
# on client (your computer)
$ ssh-keygen
Generating public/private rsa key pair.
Enter file in which to save the key (/Users/joe/.ssh/id_rsa): /Users/joe/.ssh/id_rsa
Enter passphrase (empty for no passphrase):
Enter same passphrase again:
Your identification has been saved in /Users/joe/.ssh/id_rsa.
Your public key has been saved in /Users/joe/.ssh/id_rsa.pub.
The key fingerprint is:
SHA256:jZaZH6fI8E2I1D35hnvGeBePQ4ELOf2Ge+G0XknoXp0 joe@Joes-Mac-mini.local
The key's randomart image is:
+---[RSA 3072]----+
|                 |
|       . . + .   |
|      . . B o .  |
|     . . B * +.. |
|      o S = *.B. |
|       = = O.*.*+|
|        + * *.BE+|
|           +.+.o |
|             ..  |
+----[SHA256]-----+
If you’re on Windows, follow the extra ssh-add steps here: https://docs.microsoft.com/en-us/windows-server/administration/openssh/openssh_keymanagement#user-key-generation
This created two new files on your system; the private key (in a file id_rsa) and the public key (in a file id_rsa.pub), stored in the .ssh directory on your computer.
Now we need to copy the public (not the private) key to the .ssh directory of your user account on the server.
$ ssh cs15lwi22zz@ieng6.ucsd.edu
<Enter Password>
# now on server
$ mkdir .ssh
$ <logout>
# back on client
$ scp /Users/joe/.ssh/id_rsa.pub cs15lwi22@ieng6.ucsd.edu:~/.ssh/authorized_keys
# You use your username and the path you saw in the command above
Once you do this, you should be able to ssh or scp from this client to the server without entering your password.
Write down in notes: Try to get everyone to the point where they can do this, and take a screenshot of logging in without a password. If you can’t, share a screenshot and description of where you got stuck!
Write down in notes: Repeat the timing experiment of editing and running WhereAmI.java now that you don’t have to use a password. How much time is saved per run?
Part 7 – Making Remote Running Even More Pleasant
Use what you’ve learned to come up with the most pleasant process you can for making a local edit to WhereAmI.java, then copying it to the remote server and running it.
Some hints:
- You can write a command in quotes at the end of an
sshcommand to directly run it on the remote server, then exit. For example, this command will log in and list the home directory on the remote server:$ ssh cs15lwi22@ieng6.ucsd.edu "ls" - You can use semicolons to run multiple commands on the same line in most terminals. For example, try:
$ cp WhereAmI.java OtherMain.java; javac OtherMain.java; java WhereAmI - You can use the up-arrow on your keyboard to recall the last command that was run
Write down in notes First try using just what we learned in this lab, and document the best process you came up with. Try to get the total time for a run after editing and saving to under 10 total keystrokes/mouse clicks, including all typing.
If you have more time, brainstorm other ideas or search for other ways you might easily run remote code.
Part 8 – Wrapup
Discuss with your team – do you have any open questions about things you saw that you don’t understand? Write them down in your notes document or ask your tutor. Even if they don’t know, writing them down means we can come back to them later!
If you didn’t get everything to work, that’s OK! Keep trying and make sure your tutor knows if you’re totally stuck getting something set up; we’ll be posting some office hours soon where you can come to get unstuck as well.